
Plants
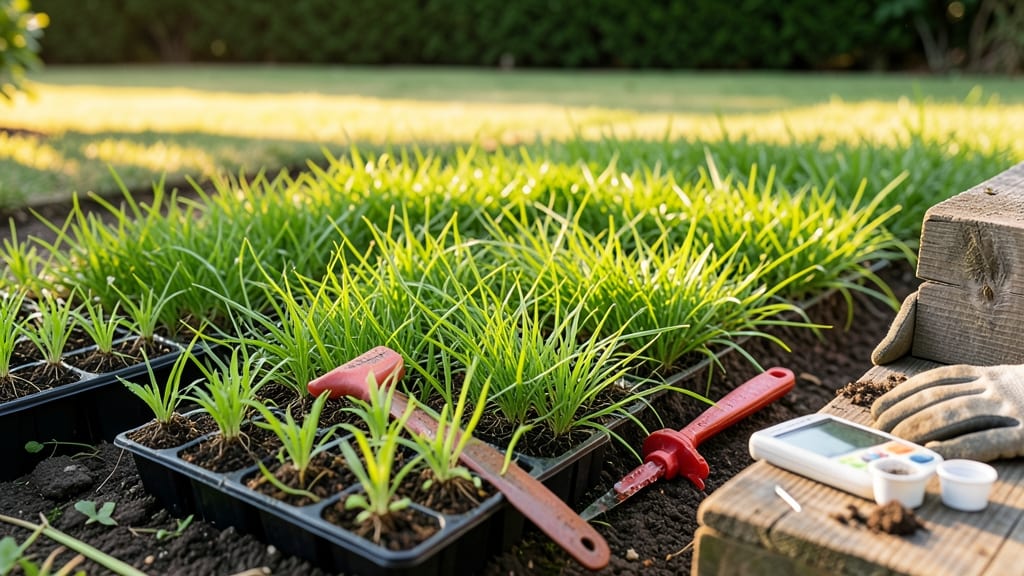
Timing your Bermuda grass planting in California could save you from months of patchy lawn struggles—or even total failure. This fast-growing grass thrives in the right conditions, but California’s diverse heat zones (from coastal 9-10 to desert 10-11) mean one wrong move can turn your dream lawn into a sun-scorched wasteland.
The secret isn’t just picking a season—it’s understanding how your region’s microclimate affects germination. Plant too early, and seedlings may rot from lingering coastal fog. Wait too long, and summer’s 110°F+ heat will fry them before they take root.
I’ll break down the exact windows for fast establishment, whether you’re in Los Angeles, the Central Valley, or Palm Springs.
You’ll also discover how to prep your soil for maximum survival rates, plus the 3 biggest mistakes California gardeners make that kill Bermuda grass before it even starts. Let’s get your lawn growing thick and green—not brown and bare.
Ready to skip the guesswork? The right timing isn’t just about months—it’s about heat maps, soil science, and avoiding the brutal summer droughts that can turn your investment into dust. Let’s dive into the data that’ll make your Bermuda grass root deeper and spread faster than you’d expect.
California heat-zone planting calendar for Bermuda grass success
California’s diverse climate means one planting window doesn’t fit all. Whether you’re in coastal San Diego, the Central Valley’s heat, or desert Palm Springs, timing your Bermuda grass planting is critical.
The ideal window shifts based on heat zones, soil temperatures, and rainfall patterns to ensure fast establishment before summer droughts strike.
Bermuda grass thrives in USDA Zones 9–11, but California’s microclimates create three distinct planting zones. Coastal areas (like San Francisco) can plant earlier than inland deserts (like Death Valley).
The key is planting when soil temps hit 65°F+ and staying ahead of 100°F+ heatwaves, which can fry seedlings.
Spring planting (March–May) is the gold standard for most of California, but late summer (August–September) works for high-altitude foothills where summers are cooler. Avoid planting in June–July—the peak drought months—unless you’re in a cooled microclimate like shaded valleys.
| Zone | Ideal Planting Window | Soil Temp Threshold | Key Consideration |
|---|---|---|---|
| Coastal (Zone 9-10) | March 15–April 30 | 65–75°F | Cooler temps extend window; watch for coastal fog delays. |
| Central Valley (Zone 9-10) | March 1–April 15 | 70–80°F | Hotter days arrive fast; prioritize irrigation setup. |
| Desert (Zone 10-11) | August 15–September 15 | 85–95°F | Late summer monsoons help; avoid planting during 110°F+ spells. |
| Foothills (Zone 9) | April 1–May 15 | 60–70°F | Cooler nights slow growth; use shade cloth if needed. |
For sod installation, the window is slightly narrower—aim for 2–4 weeks before your zone’s peak heat. Sod establishes faster than seed, but it also demands consistent moisture during those first 30 days.
In Zone 10–11 deserts, sod can be laid as late as September 1st, but avoid October plantings—the first frost risk (even in deserts) increases.
If you’re in a transition zone (like Los Angeles or Sacramento), err on the earlier side. Coastal areas can push into late April safely, while inland valleys should finish by April 15th to avoid June heatwaves.
Use a soil thermometer to confirm temps—65°F is the minimum for seed germination.
Late summer plantings (August–September) work best in desert and foothill zones, where monsoon rains provide natural moisture. However, avoid planting after September 15th—new growth won’t harden off before winter rains arrive, leaving it vulnerable to fungal diseases like brown patch.
Pro tip: Pre-cool your soil in high-altitude areas (like Mammoth Lakes) by covering bare soil with black plastic for 2–3 weeks before planting. This mimics spring warming and jumpstarts germination. Just remove the plastic 48 hours before seeding to avoid heat shock to seeds.
Remember, Bermuda grass is dormant in winter but goes dormant in summer too—if planted too late, you’ll miss the critical 60-day growth window before heat stress sets in. Plan accordingly, and your lawn will thrive year-round.
Pre-planting steps to ensure fast Bermuda grass establishment in California
Before you even think about seeding or laying sod, soil preparation is your secret weapon for a thriving Bermuda grass lawn. Start by testing your soil’s pH level—aim for a range of 6.0 to 7.5, which Bermuda grass craves.
If your soil is too acidic or alkaline, amend it with lime (to raise pH) or sulfur (to lower pH) 2-3 months before planting. This gives the soil time to adjust naturally.
Next, clear the area of existing weeds, rocks, and debris. Bermuda grass is aggressive but won’t compete with established weeds. Use a broadleaf herbicide like glyphosate 2-3 weeks before planting to kill weeds without harming your future lawn.
For stubborn weeds, consider a manual pull or smothering technique with cardboard or landscape fabric for a few weeks.
Don’t skip tilling the soil to a depth of 4–6 inches. This breaks up compacted layers and improves aeration, which Bermuda grass roots will thank you for. Use a rototiller for large areas or a hand fork for smaller patches.
After tilling, rake the soil to create a fine, crumbly texture—think of it as giving your grass seeds or sod a soft landing pad.
Leveling the ground is often overlooked but critical for even water distribution and growth. Use a laser level or string line to spot low areas, then fill them with topsoil or compost.
For high spots, carefully remove excess soil. A perfectly level lawn might sound tedious, but it saves you from puddles in some areas and dry patches in others—both enemies of Bermuda grass.
Finally, set up your irrigation system before planting. Bermuda grass needs consistent moisture, especially in California’s dry climate. A drip irrigation system is ideal because it delivers water directly to the roots without wetting the leaves (reducing fungal risks).
If you’re using a sprinkler, water early in the morning (5–9 AM) to minimize evaporation and disease. Aim for 1–1.5 inches of water per week, adjusting for your specific heat zone.
With these steps nailed down, your Bermuda grass will establish faster and stronger, giving you that coveted drought-resistant, green lawn California gardeners dream of. Just remember: prep is half the battle—skimp here, and you’ll pay for it later with patchy growth or failed plantings. 🌱