
Planting
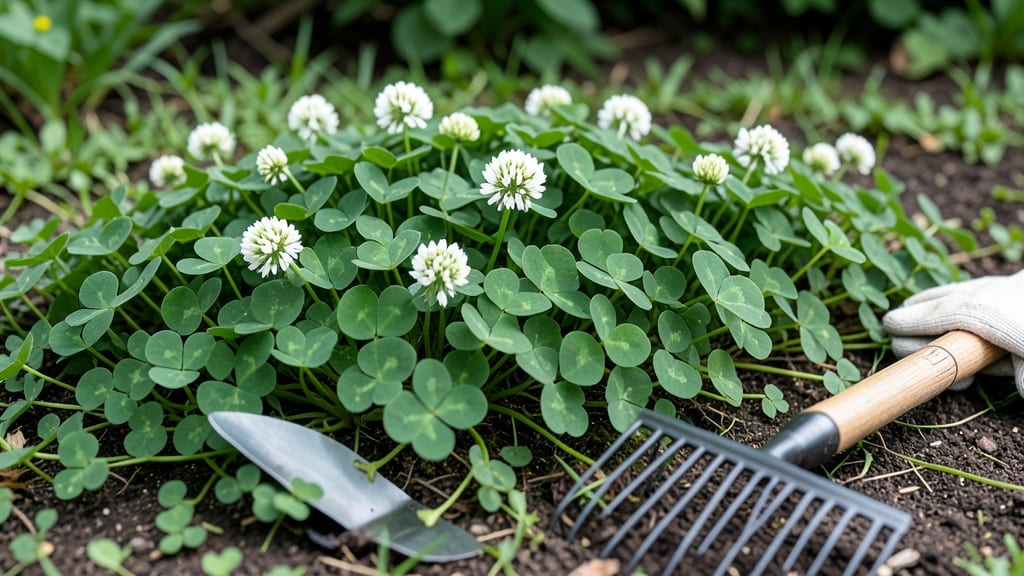
If you're asking "when should I plant clover in my lawn", timing is everything—and getting it wrong could mean months of patchy growth or wasted seeds. The best windows are early spring or early fall, when soil temperatures cooperate and weeds haven't taken over yet.
For most gardeners in USDA Zone 6a (like me!), that means seeding right after the last frost in March or April, or again in September before cooler weather sets in.
These periods give clover's delicate roots the perfect chance to establish before summer heat or winter freeze stress them out.
Here's the key: Clover thrives on consistency. Plant too early, and frost can damage tender seedlings. Too late, and summer drought or weed competition steals the show.
I'll walk you through exactly how to read your local climate cues—plus pro tips to prep your lawn so your clover takes off like a green carpet.
Ready to transform your lawn into a lush, low-maintenance space? Let's dive into the science of timing, zone-by-zone, so you can plant with confidence—and watch your clover spread like wildfire (the good kind!).
Best planting seasons for clover by u.s. climate zone
Planting clover at the right time ensures strong root growth and a lush lawn. The best windows are early spring (after last frost) or early fall (before first frost). Your USDA climate zone determines the exact timing—cooler zones need earlier planting, while warmer zones have more flexibility.
For example, in USDA zones 3-5, aim for late April to early May in spring or mid-September to early October in fall. In zones 6-8, you can extend spring planting to mid-May and fall planting to late October.
Zones 9-10 even allow winter planting (November) due to mild winters.
Clover thrives when soil temperatures are 50-70°F (10-21°C)—too hot or cold slows germination. Fall planting gives seeds time to establish before winter, while spring planting avoids summer heat stress.
Pro Tip: Check your local frost dates using the USDA Plant Hardiness Zone Map to pinpoint your ideal window. Adjust by 1-2 weeks if your microclimate runs warmer or cooler than average.
⚠️ Critical Note: Avoid planting in summer heat (June-August) or late winter (February). Extreme temperatures cause poor germination and weak seedlings.
| Climate Zone | Spring Planting Window | Fall Planting Window | Soil Temp Goal | Key Consideration |
|---|---|---|---|---|
| Zones 3-5 | Late April–Early May | Mid-Sept–Early Oct | 50–60°F (10–15°C) | Short growing season; prioritize fall |
| Zones 6-8 | Mid-April–Mid-May | Late Sept–Late Oct | 55–65°F (13–18°C) | Balanced window; either season works |
| Zones 9-10 | Feb–March | Nov–Early Dec | 60–70°F (15–21°C) | Mild winters; year-round options |
Regional microclimates matter! If you live in a valley or low-lying area, plant 1-2 weeks earlier than zone averages—cooler air pools there. Conversely, hilltops or urban heat islands may need delayed planting by the same window.
Test your soil temperature with a soil thermometer (available at garden centers for ~$10). Insert it 2 inches deep—this is where clover seeds germinate. Aim for 55–65°F (13–18°C) for best results.
For northern climates, prioritize fall planting—seeds establish roots before winter, then burst into growth in spring. In southern climates, spring planting avoids summer drought stress. Always water deeply after planting to encourage root penetration.
Remember: Clover is a living mulch, meaning it improves soil over time. Planting at the right season ensures it outcompetes weeds and thrives for years. Start with a small test patch to refine your timing before committing to your entire lawn.
How to prepare your lawn for clover planting in any season
Preparing your lawn for clover planting is half the battle—whether you’re seeding in spring or fall. Start by testing your soil’s pH level (ideal range: 6.0–7.0).
Clover thrives in slightly acidic to neutral soil, so adjust with lime if needed. A simple soil test kit from your local garden center makes this easy.
Next, clear the area of weeds and debris. Use a lawn rake to loosen the top inch of soil, breaking up compacted areas. This helps clover seeds make contact with the earth, improving germination rates.
If your lawn is thick with grass, consider mowing it short (1–2 inches) before seeding.
Here’s where timing matters: Spring planting requires extra prep to combat early weeds, while fall planting benefits from natural moisture. In both cases, water the soil deeply 24 hours before seeding to create the perfect environment for germination.
Step-by-Step Prep for Clover Planting
- Test soil pH (aim for 6.0–7.0) and amend if needed.
- Remove weeds and debris with a rake or herbicide.
- Loosen topsoil to 1 inch deep for better seed contact.
- Mow grass short (1–2 inches) if seeding over existing lawn.
- Water soil deeply 24 hours before planting.
- Spread clover seeds evenly (use a broadcast spreader for large areas).
- Lightly rake seeds into soil (¼ inch deep) and water gently.
For spring planting, aim to seed after the last frost date in your USDA zone. In fall, plant 4–6 weeks before the first frost to allow roots to establish before winter. Both seasons benefit from a light mulch (like straw) to retain moisture and suppress weeds.
After planting, keep the soil consistently moist (not soggy) for the first 3–4 weeks. Clover seeds germinate best in 60–70°F soil temperatures, so avoid planting when soil is too hot or cold. Monitor for weeds and water deeply once a week to encourage strong root growth.
With the right prep, your clover will establish quickly, adding nitrogen to your soil and outcompeting weeds naturally. Patience is key—give it time to fill in before expecting a lush, green lawn.